In the age of smart TVs, having a reliable internet connection is crucial. Hisense TVs offer various features, including streaming services like Netflix, YouTube, Amazon Prime Video, and more. Connecting your Hisense TV to Wi-Fi is necessary to access these services and enjoy seamless streaming. If you’ve just bought a Hisense TV or are struggling with connectivity issues, this guide will provide step-by-step instructions on how to connect Hisense TV to Wi-Fi, ensuring you get the best possible experience.
Understanding Wi-Fi Compatibility with Hisense TVs
Before jumping into the setup process, it’s important to understand the Wi-Fi compatibility of your Hisense TV. Different models may support varying Wi-Fi frequencies or have specific requirements.
Types of Wi-Fi Connections
- 2.4GHz vs. 5GHz: Wi-Fi networks generally come in two frequency bands: 2.4GHz and 5GHz. The 2.4GHz band has a longer range but can be slower and more susceptible to interference. The 5GHz band is faster but has a shorter range.
- Wi-Fi Standards: Hisense TVs typically support the 802.11b/g/n (2.4GHz) or 802.11ac (5GHz) standards. Ensure your router supports the appropriate frequency and Wi-Fi standard for optimal performance.
Checking Wi-Fi Compatibility
To find out which Wi-Fi bands your TV supports, consult the user manual or check your TV’s specifications in the settings menu.
Common Wi-Fi Connection Issues
- Weak signal: Poor placement of your router or interference can result in weak signals.
- Incompatible router settings: Ensure your router is configured to use the correct Wi-Fi band.
Read Also: ESPN on Roku
Preparing Your Hisense TV for Wi-Fi Setup
Before you start connecting your Hisense TV to Wi-Fi, make sure you have everything in place for a smooth setup:
- Power On Your TV: Make sure your Hisense TV is powered on and fully functional.
- Update TV Software: Check if there are any software updates available for your TV. Updates often resolve connectivity issues and improve overall performance.
- Ensure Router Functionality: Your router should be on and properly connected to the internet. You can check the Wi-Fi signal strength by connecting other devices, like a phone or laptop.
Step-by-Step Guide: Connecting Hisense TV to Wi-Fi
Now that your TV and router are prepared, let’s go through the process of connecting your Hisense TV to Wi-Fi.
1. Accessing the TV Settings Menu

To begin, you’ll need to navigate to the network settings on your Hisense TV:
- Press the Home button on your remote.
- Select Settings.
- Choose Network or Wi-Fi Settings.
2. Selecting Your Wi-Fi Network
Once you are in the network settings:
- Your TV will scan for available networks.
- A list of Wi-Fi networks will appear. Scroll through the list and select your home Wi-Fi network.
3. Entering Wi-Fi Password
After selecting your network:
- A password prompt will appear.
- Enter your Wi-Fi password carefully. Be mindful of case sensitivity and special characters.
- If your password is correct, the TV will attempt to connect.
Read Also: Hisense TV Remote App
4. Connecting to the Network
Once the password is entered:
- Wait for your Hisense TV to confirm the connection.
- If successful, you should see a message confirming the connection to the internet.
If the connection fails, double-check the password, and ensure there are no network issues with your router.
Troubleshooting Common Wi-Fi Connection Issues
If your Hisense TV is having trouble connecting to Wi-Fi, here are some common solutions to try:
1. Check Wi-Fi Signal Strength
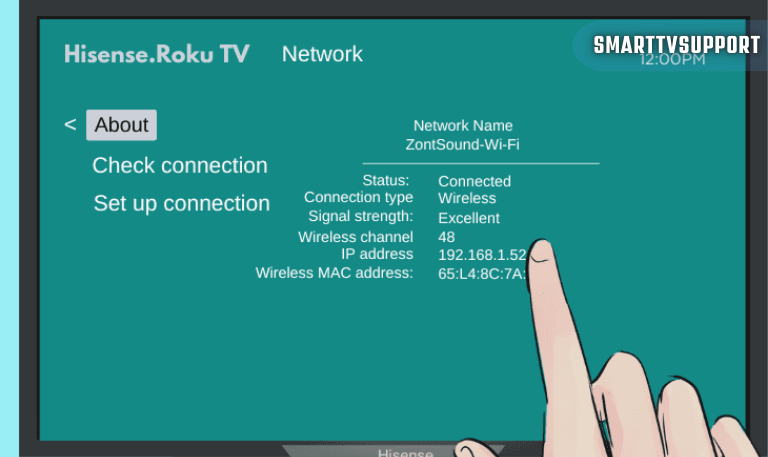
- Ensure your router is within range of your Hisense TV.
- If the signal is weak, consider moving the router closer or using a Wi-Fi extender.
2. Reset Network Settings
If your connection fails, resetting the network settings on your Hisense TV may help:
- Go to Settings > Network > Reset Network Settings.
- This will erase any saved networks and allow you to try reconnecting from scratch.
3. Restart Your Router
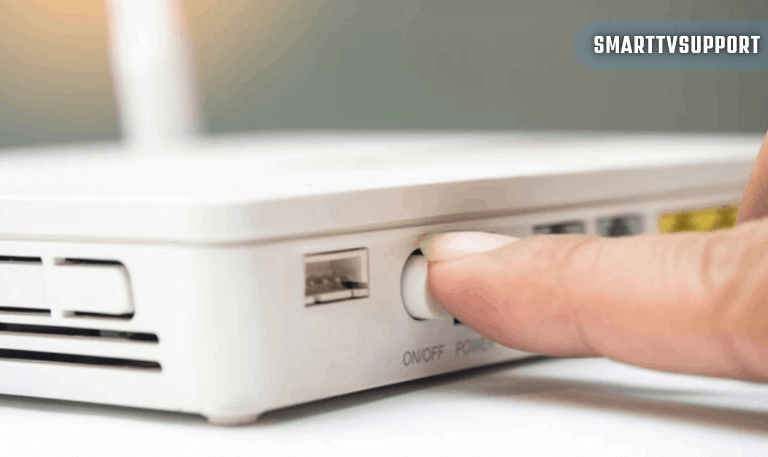
- Sometimes, a simple restart of your router can fix connection issues.
- Unplug your router for 10-20 seconds, then plug it back in.
4. Software Updates
- Outdated software can cause connectivity problems.
- Make sure your Hisense TV is running the latest firmware by going to Settings > About > System Update.
Read Also: Hisense TV Remote Not Working
Optimizing Wi-Fi Settings for Better Streaming Performance
For the best streaming experience on your Hisense TV, you’ll need a stable Wi-Fi connection. Here are some optimization tips:
- Use 5GHz Wi-Fi: If your router supports dual-band Wi-Fi, connect your TV to the 5GHz band for faster speeds and less interference.
- Limit Network Traffic: If too many devices are connected to your Wi-Fi, your TV may experience buffering. Disconnect unnecessary devices from the network.
- Check Wi-Fi Speed: Use a speed test on your phone or laptop to verify that your internet speed is adequate for streaming. Aim for at least 10 Mbps for HD streaming.
Advanced Connection Methods for Hisense TVs
For users looking for more reliable or alternative ways to connect their Hisense TV to the internet, here are some advanced methods:
1. Using an Ethernet Cable
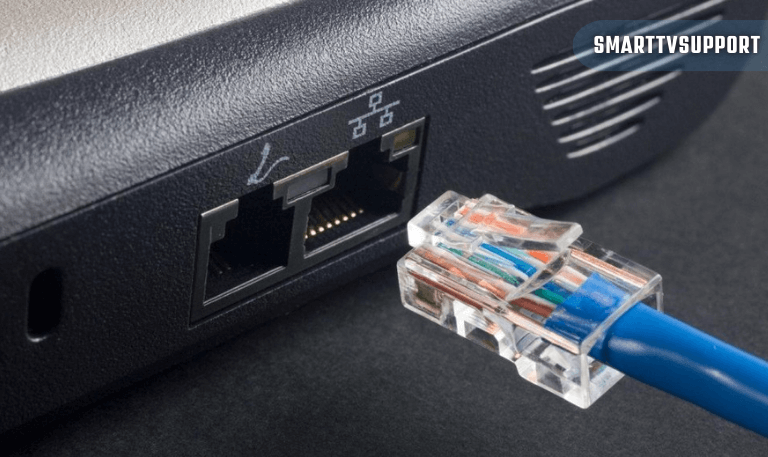
If Wi-Fi continues to be unreliable, you can connect your Hisense TV directly to your router using an Ethernet cable. This method provides a more stable and faster connection.
Plug one end of the Ethernet cable into your router and the other into the Ethernet port on your TV.
Go to Settings > Network and select Wired Connection.
2. Connecting Through a Mobile Hotspot
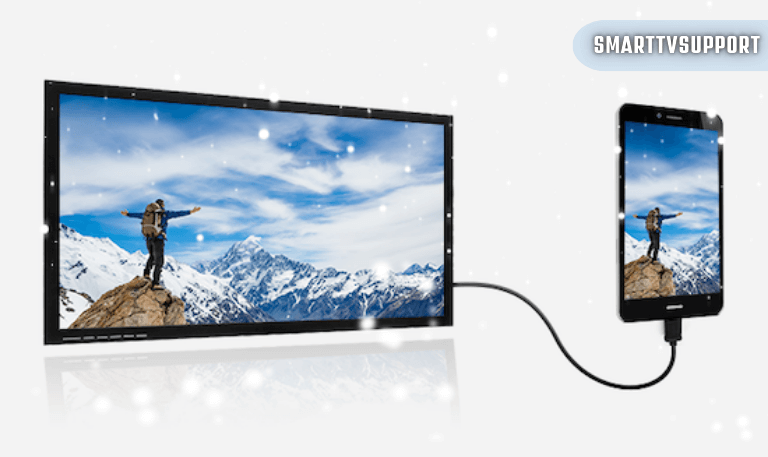
If your home Wi-Fi is unavailable or you need to connect your TV to the internet temporarily, you can use your mobile phone as a hotspot.
- Enable the hotspot feature on your smartphone.
- Connect your Hisense TV to the hotspot like you would a regular Wi-Fi network.
Hisense TV Wi-Fi Settings for Android TV Models
For Hisense TVs running Android TV, the Wi-Fi setup process might look slightly different:
- Go to Settings > Network & Internet > Wi-Fi.
- Select your network and enter the password.
- Android TV models may also offer advanced settings, such as the ability to manage connected devices and prioritize network bandwidth.
Read Also: Hisense TV Blinking Red Light
How To Connect Hisense TV To Wi-Fi FAQs
Q: Why Can’t I Find My Wi-Fi Network on My Hisense TV?
A: If your Hisense TV cannot find your Wi-Fi network, make sure your router is broadcasting the SSID (network name) and that it supports the Wi-Fi band (2.4GHz or 5GHz) your TV is compatible with.
Q: How Do I Reset My Hisense TV’s Wi-Fi Settings?
A: To reset the Wi-Fi settings on your Hisense TV, go to Settings > Network > Reset Network Settings.
Q: Can I Connect My Hisense TV to a Mobile Hotspot?
A: Yes, you can connect your Hisense TV to a mobile hotspot. Enable the hotspot on your phone and select the network on your TV as you would with a regular Wi-Fi connection.
Q: What to Do if My Wi-Fi Connection Is Unstable on My Hisense TV?
A: Try resetting the router, adjusting the position of the router, or switching to a 5GHz connection if available. You can also connect via Ethernet for a more stable connection.
Q: Does My Hisense TV Support 5GHz Wi-Fi?
A: Most recent Hisense models support 5GHz Wi-Fi, but you should verify the specifications for your specific model in the user manual or settings menu.
Conclusion
Connecting your Hisense TV to Wi-Fi is a simple yet crucial task to access a wide range of online content, streaming services, and updates. With the steps outlined in this guide, you can ensure a seamless and stable connection, troubleshooting any issues along the way. By optimizing your Wi-Fi settings and exploring alternative connection methods, you can enhance your overall viewing experience.
![Hisense TV Remote Not Working | Troubleshooting Tips [2025] 19 Hisense-TV-Remote-Not-Working-Troubleshooting-Tips-[2025]](https://smarttvsupport.com/wp-content/uploads/2025/04/Hisense-TV-Remote-Not-Working-Troubleshooting-Tips-2025.png)
![How to Clear Cache on Roku | Fix Buffering [2025 Easy Guide] 20 How-to-Clear-Cache-on-Roku -Fix-Buffering-[2025-Easy-Guide]](https://smarttvsupport.com/wp-content/uploads/2025/04/How-to-Clear-Cache-on-Roku-Fix-Buffering-2025-Easy-Guide.png)